Retrofit underfloor heating requires a very different approach from traditional new-build installations. Existing floor structures, heating systems and finished levels all need to be carefully considered to ensure the system performs efficiently without disruption.
At Channel Heat Systems, we specialise in installing water underfloor heating into existing concrete and screed floors using precision milling techniques. This allows us to integrate a low-profile heating system directly into the existing slab without raising floor levels, removing the floor, or extending renovation timelines.
This guide explains the professional retrofit underfloor heating installation process, step by step, so you can understand how modern systems are designed, installed and commissioned for long-term comfort and efficiency.
Step 1: Initial assessment and system design
Every retrofit project starts with a professional assessment. At this stage, we review:
- The existing floor construction (concrete or screed)
- Floor depth and structural condition
- Current heating system (boiler or heat pump)
- Room layout and heat-loss requirements
- Renovation plans and floor finishes
This information allows us to design a system that delivers the correct heat output, flow temperatures and zoning ensuring efficient performance from day one.
A proper design is essential, particularly in retrofit projects, where accuracy matters more than adding build-up.
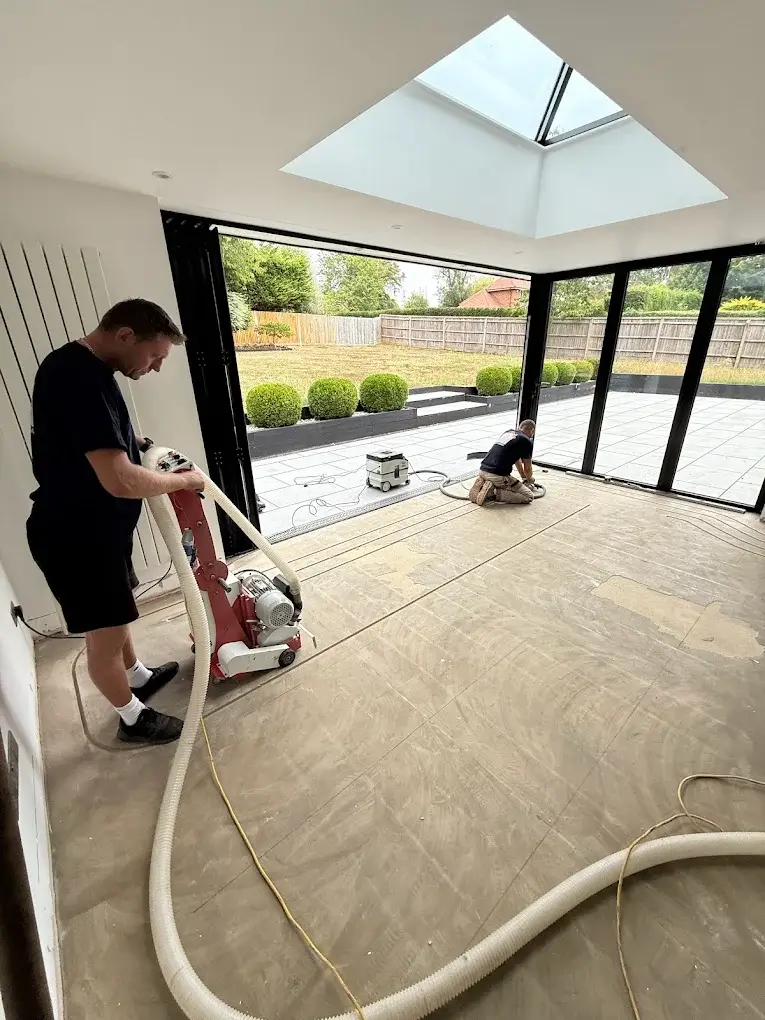
Step 2: Preparing the existing concrete floor
Once the system design is finalised, the existing floor is prepared for installation.
Unlike traditional retrofit methods that involve removing floors or adding insulation boards and screed, our approach keeps the original slab in place. This avoids unnecessary demolition and helps maintain existing floor heights.
The surface is checked, marked out and prepared for precision milling.

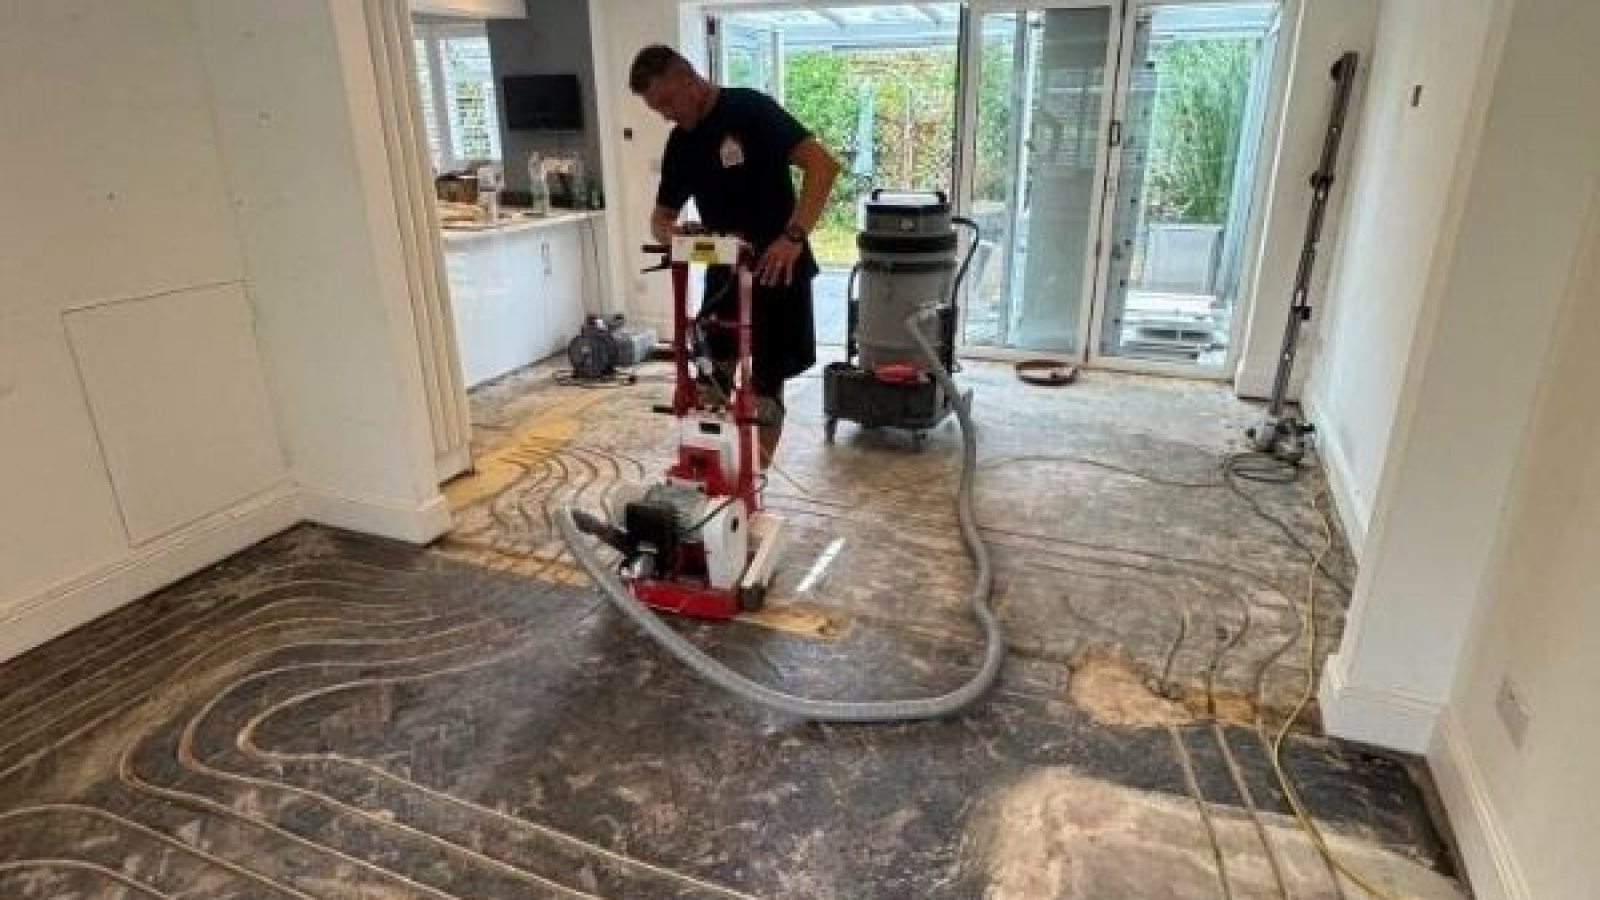
Step 3: Precision milling of heating channels
This is the key step that makes retrofit underfloor heating possible.
Using specialist milling equipment, we cut accurately spaced, depth-controlled channels directly into the existing concrete or screed floor. These channels follow the exact pipe layout defined during the design stage.
Because the channels are milled into the slab itself:
- There is no increase in floor height
- No need for new screed layers
- Minimal dust and disruption
- Faster heat transfer once the system is operating
This method allows underfloor heating to be installed cleanly and efficiently, even in lived-in homes.
Step 4: Installing the underfloor heating pipework
Once the channels are milled, the underfloor heating pipes are laid neatly into the grooves and secured in place.
The pipes sit close to the finished floor surface, which is one of the reasons milled systems offer:
- Faster heat-up times
- Improved responsiveness
- Excellent performance with low-temperature heat sources such as heat pumps
Careful installation at this stage ensures even heat distribution and long-term reliability.
Step 5: Pressure testing and system checks
Before the floor is sealed, the entire system is pressure-tested to confirm there are no leaks and that the pipework is performing exactly as intended.
This step is critical in any water underfloor heating installation and ensures the system is safe, durable and ready to be commissioned.
Step 6: Sealing the channels and preparing for the final floor finish
After testing, the channels are sealed and the surface is made ready for the final floor covering.
Because there is no screed to dry, there is no waiting period. The floor can typically be tiled, finished with engineered wood, vinyl or other suitable coverings almost immediately.
This is one of the reasons retrofit installations can often be completed in just 1–2 days.
Step 7: Connecting to the heating system and commissioning
The underfloor heating system is then connected to the manifold and integrated with the existing heating system – whether that’s a modern boiler or a heat pump.
Controls are configured, zones are set up, and the system is fully commissioned to ensure:
- Correct flow temperatures
- Balanced heat distribution
- Efficient operation alongside any existing radiators
The result is a system that delivers steady, even warmth throughout the space!
Why this retrofit underfloot heating installation method works so well
By installing underfloor heating directly into the existing concrete floor, this approach avoids the most common issues associated with retrofitting:
- No raised floors
- No door trimming or threshold changes
- No long drying times
- Bo major building work
At the same time, it delivers the comfort and efficiency benefits underfloor heating is known for, making it a practical upgrade for many homes that were previously considered unsuitable.
Is retrofit underfloor heating right for your home?
Most properties with concrete or screed floors are suitable, but every home is different. Floor depth, condition and existing heating systems all need to be assessed properly before installation.
That’s why a professional assessment is the best way to understand what’s possible.
Book a free retrofit underfloor heating assessment
If you’re planning a renovation or want to upgrade how your home is heated, our team can help you explore whether retrofit underfloor heating is right for your property. Request a free consultation today!